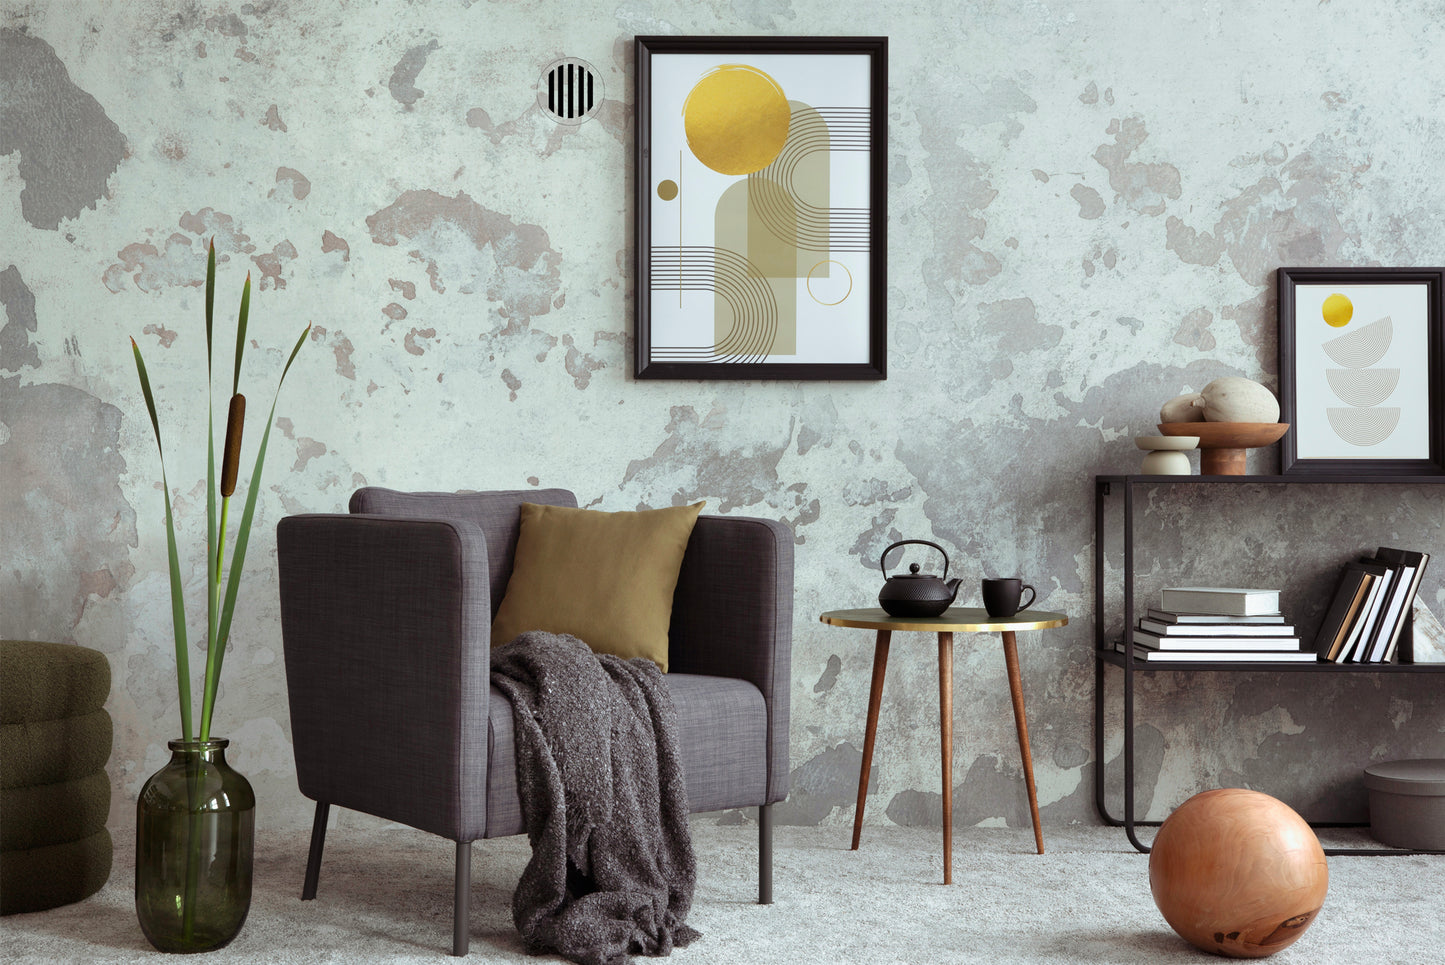
Are you looking to add a touch of sophistication to your space? One often overlooked element in interior design is the humble wall or ceiling air vent, but with Envisivent, you can make your air vents blend in with the rest of your stylish decor. Not only can you paint directly over our air vent covers, exhaust fan covers and access panels, but you can also wallpaper over our removable vent covers! In this blog post, we'll guide you through the process of wallpapering your vents, ensuring a seamless and aesthetically pleasing result. So, let's dive into the steps to elevate your home décor with Envisivent.
Gather Your Materials:
- Before you begin, make sure you have all the necessary materials. Alongside your Envisivent product, ensure you have some extra wallpaper on hand in case your first attempt doesn't go as planned. Having this extra supply will give you peace of mind and room for adjustments.
Install the Wallpaper:
- Start by installing the wallpaper over the entire wall where the vent is located. Use an appropriate adhesive to ensure a strong bond between the wallpaper and the wall surface. Take your time to smooth out any wrinkles or bubbles, ensuring a flawless application.
Position and Trim:
- Once the wallpaper is securely in place, double-check that it is situated correctly on the wall. Smooth it out and trim any excess to ensure a neat finish. This sets the stage for the next crucial steps in the Envisivent installation process.
Cut the Vent Opening:
- Using a very sharp knife, gently cut the perimeter of the vent opening. Take your time and exercise precision to avoid any jagged edges. Once cut, carefully pop out the grille to reveal the vent opening.
Modify the Grille:
- Flip the grille over and, using the same very sharp knife, cut the long sections of the grille slats from behind. Then, flip the grille over again and neatly slice the short sections of the grille slats from the front, connecting the sliced lines. This process transforms the standard grille into a decorative element that blends directly into your wallpaper.
Pop Out Excess Wallpaper:
- Carefully pop out the sections of wallpaper between the grille openings. This step ensures that the vent seamlessly integrates with the surrounding wallpaper, creating a polished look, while not compromising your HVAC system.
Trim Perimeter:
- With the grille back in place, trim the perimeter of the vent and the slots carefully. This ensures there's no overhanging wallpaper, creating a clean and professional finish.
Paint if Necessary:
- Depending on the color of your wallpaper, it may be beneficial to paint the inside of the vent and the inside of the grilles prior to installation to a color that best matches with your wallpaper. This step ensures a cohesive and finished appearance, enhancing the overall aesthetic. Example: with a dark wallpaper, you want to paint the inside of the vent a dark colour pulled from the wallpaper.
Admire Your Work:
- With the Envisivent installation complete, step back and admire your transformed space. You've successfully turned a functional necessity into a stylish design element that elevates the entire room.
Envisivent provides a creative and easy solution to enhance the aesthetics of your home. By following these step-by-step instructions, you can effortlessly wallpaper your vents, adding a unique touch to your interior design. With attention to detail and a bit of creativity, you'll achieve a stunning result that will impress anyone who enters your space.
Learn more by following this Envisivent Wallpaper Installation Video.
